Downloadable Technical Bulletins in PDF format
Changes to the ENERGY STAR rating system effective February 1, 2015.
Downloadable Installation, Finishing and Refinishing Instructions in PDF format
- Installation Instructions Vinyl Flush Fin Windows and Vinyl Windows with Nailing Fin (PDF)
- Finishing and Refinishing Instructions for Interior & Exterior Door Slabs and Systems (PDF)
10 essential steps for proper installation
1. Verifying measurements
Before the old window is removed and any work is begun, a good installer should verify all measurements to check for errors. Such routine precautions help ensure your total satisfaction.
- Failing to verify measurements increases the risk that the new window will not fit in the opening.
2. Removing the existing window
A good installer should carefully remove the old window to avoid damaging the structure and any facing, mouldings, etc. that will be reinstalled when they've completed the work. Should the existing frame also be removed? As a rule, we strongly recommend changing the frames of old windows. The space between the old frame and the wall is seldom completely air and watertight, which may increase heating costs. In addition, removing the old frame is the only way to detect hidden problems such as rot on the frame interior. We only keep old frames when the building is very old or especially difficult to touch up.
- Keeping old frames may save you some money initially, but you run the risk of having to remove and replace them all after a few seasons, at your expense.
3. Inspecting and preparing the opening
A good installer should carefully inspect the rough opening to make sure all materials and wall pieces are in good condition. At this stage, necessary repairs can be made to prevent old problems from reoccurring with the new window. The installer should then adjust the opening to ensure effective, durable support for the new window.
- Superficial inspections often fail to detect water infiltration, rot, or other structural problems affecting the structure around the window.
4. Positioning
This key step determines how a window will perform after installation. Without securing it permanently in place, we set the window in the opening so that the glass is as close to the warmer part of the opening as possible. Proper positioning reduces heat loss as well as condensation. Whenever appropriate, we also offer the Logik option. This is an exterior frame extension used to adjust the position of the window and improve air circulation on the glass, thereby improving window performance.
- The skill of the installer makes all the difference at this stage. Such work should never be entrusted to someone who is unable to explain door or window positioning. Improper window positioning increases the risk of condensation.
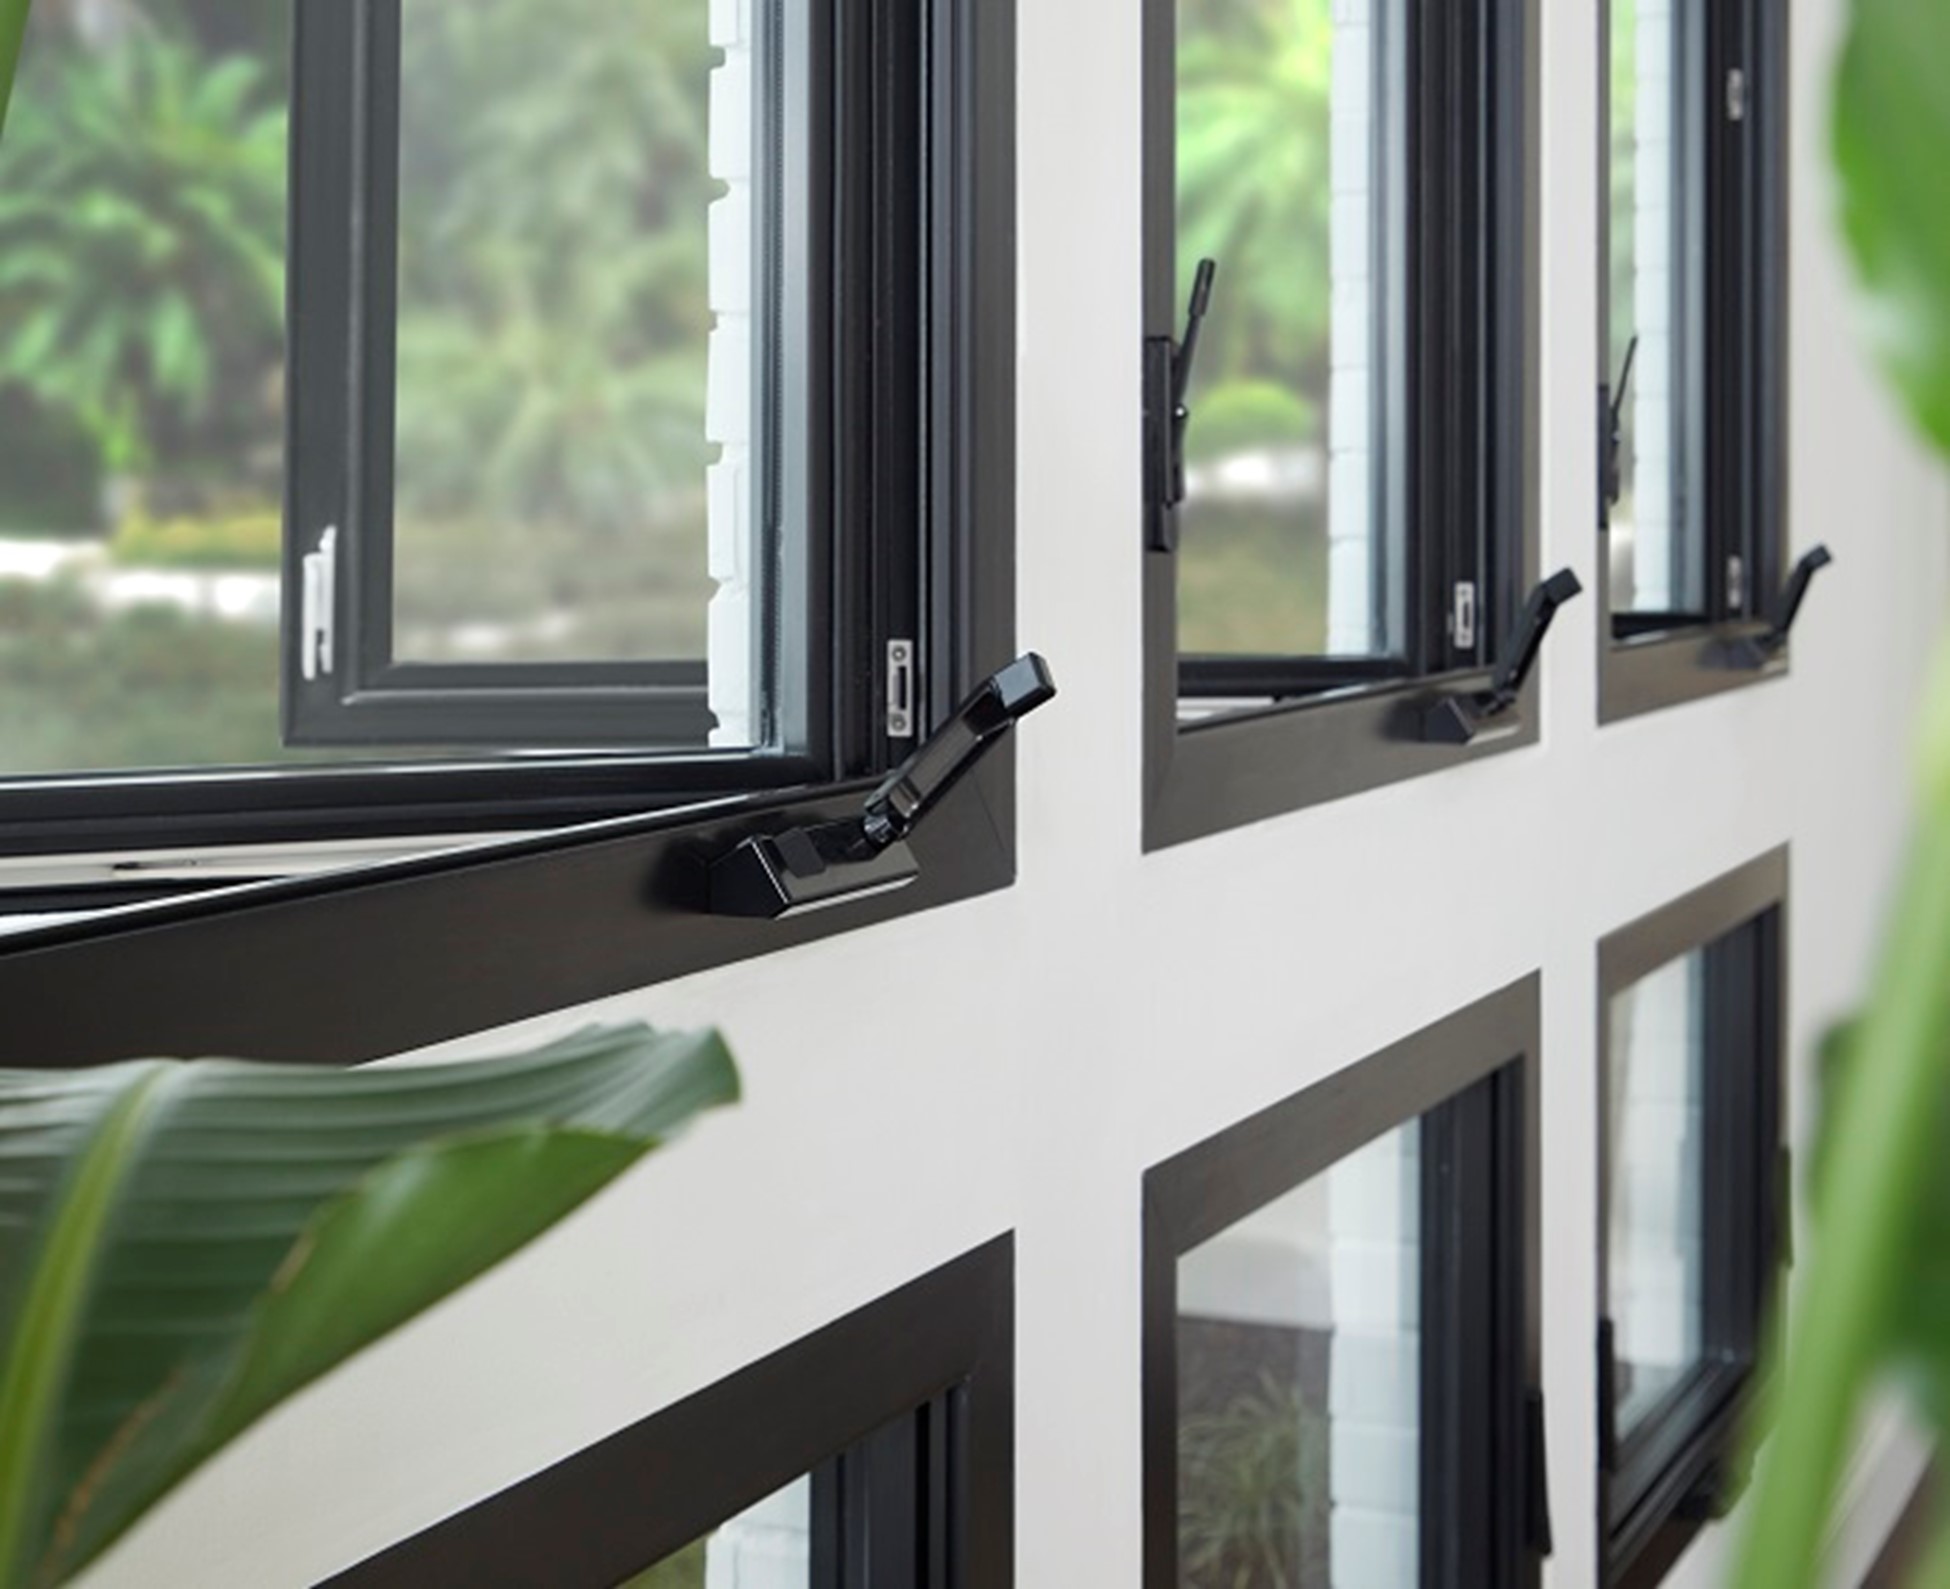
5. Securing
Three words characterize this step: plumb, level, and square.
- Once the window is installed, it must have sufficient play to sustain normal framework warping.
- A good installer should use quality shims, not wood scraps, to ensure the window is level and adjust it so that it is perfectly square.
- Window corners must be at an exact 90° angle if the window is to function properly. It is worth noting that windows are never nailed down.
In fact, we prefer to drill fore holes in window frames and to use screws. This makes for easier adjustment, sturdier installation, and a window that does not retract when the temperature changes.
Door specifications
Installing a door is similar to installing a window. However, certain adjustments vary depending on whether the door is made of steel or wood. These variations take into account differences in the way these materials react to changes in temperature or humidity.
- A poorly installed window may work well in the summer but jam in the winter due to normal framework warping.
6. Insulating
There are several insulation methods and products available. Your needs should be analyzed during the first visit in order to determine the most appropriate solution for you. Ensuring sufficient air and weathertightness is the prime concern.
Fibreglass is generally the first option. However, fibreglass loses its effectiveness if it comes in contact with concrete and absorbs humidity, so urethane foam may also be used, notably for basement and full-masonry exterior walls. Since foam expands upon application, it is important to ensure it does not put pressure on the inner side of the window frame and block the operating parts of the window.
- Improperly insulated windows are less energy efficient and may jeopardize the overall quality of the installation in the long run.
7. Exterior finishing
Draft proofing ensures a watertight frame. The installer should pay particularly close attention to the condition of the flashing. The installer should use draft proofing products appropriate for each installation and choose products to sustain the expansion and contraction of the building materials without coming detached. The size of the joint is of paramount importance. Too thin and it lacks adhesion, too thick and it lacks elasticity.
- Install two parallel weatherstrips with an airspace between them under door sills. Clad and/or replace sills and carefully reinstall existing mouldings and facing to ensure an impeccable finish. Careful exterior finishing is not only a matter of aesthetics but also affects window efficiency.
8. Interior finishing
Your specifications and choice of finishes will determine whether the window extension jamb is made of wood or PVC. Existing mouldings are usually replaced unless special features or qualities make them worth preserving and reinstalling. In all cases, our precision cuts ensure a meticulous finish.
- For an attractive and harmonious finish, interior design must be taken into account.
9. A work area as tidy as they found it
Part of a good installer's commitment is to leave your premises as they were before installation, which means to remove all construction debris and leave the work area clean. They should even dispose of your old windows if you wish.
- Avoid unpleasant surprises by making sure you clearly understand the extent of your warranty coverage at the time of installation.
10. Inspecting and approving the installation
Once the installation is complete, the installer should inspect it with you for your approval. At the same time, they should take the opportunity to explain how the door or window operates, go over warranty coverage, and give advice on how to maintain the product.
- All of the ten preceding steps are important. Each is intended to prevent problems and ensure total satisfaction with your doors and windows for years to come.
Proper care and maintenance to ensure long life for your JELD-WEN products
Upkeep of moving parts
The regular maintenance and lubrication of your windows' moving parts will help prolong their lives. In general, all moving part contact points should be lubricated with a drop of lubricant in the spring and fall.
Dust, sand, and dirt accumulate in window recesses and guides and must be regularly removed to ensure the whole unit continues to work smoothly. You may wish to pay special attention to windows exposed to extreme winds or located close to ground level.
Do not paint metal parts or weatherstripping as this could affect the operation of your windows and make them less effective.
General Recommendations
- Use a silicone lubricant. Your vendor can recommend a suitable brand.
- Keep such products out of the reach of children at all times.
- Be sure to protect your clothing, hands, and eyes.
- Do not loosen screws or nuts or disassemble hardware for lubrication purposes. Doing so is not needed and may invalidate the manufacturer's or installer's warranty.
- If you have questions about window care and maintenance, ask your vendor.
Caring for Wood Surfaces
JELD-WEN windows and doors are made of pine that has been kiln-dried and treated with a water-repellent preservative that can be painted or stained.
Wood contains natural variations in colour and texture. These are not defects and, in fact, add uniqueness to the product.
All wood parts are preservative treated. We recommend, however, that you paint or stain them as soon as possible, no later than 21 days after installation.
Caring for Vinyl Surfaces
Vinyl is easy to clean and can keep its lustre indefinitely. A little dishwashing soap in water is generally sufficient to remove dust, pollution, and accidental marking and keep them looking beautiful. Be sure to use gentle, non-abrasive cleaning products.
For harder-to-remove dust, or marks caused by pencil, grease, tar, lipstick, etc., use non-abrasive sink and counter cleaning creams. You may also use specialized products for cleaning vinyl surfaces in vehicles. Do not use solvents or stripping compounds.
Certain products like felt-tip pens can mark vinyl permanently. If this happens, it is better to replace the affected part. You may also lightly scrape or sand the surface—a delicate procedure you should entrust to a window and door professional or contractor—but this causes the material to lose its lustre.
Take Precautions
When using a cleaner other than soapy water, be sure to wear adequate protective gear to protect your skin and eyes.
Cover all parts of the window or door you do not intend to clean.
Contact the manufacturer before undertaking anything that could damage your windows or doors.
Appropriate Protection for Exterior Doors
The protection of your door is a major factor in its maintenance requirements and longevity. To adequately protect your door and extend its life, several factors must be considered. Door type, climate, exposure, colour choice and the use of a storm door all have an effect on the durability of a door.
Every door type weathers differently. Wood doors, for example, are more susceptible to the elements than steel or fibreglass. Here are some guidelines to consider when selecting the type of door to install, the choice of finish and how much overhang protection is needed.
Overhangs
Depending on the climate and the direction the door faces, wood doors will require some sort of protective overhang. A formula to help determine the correct overhang for a wood door in most cases is: Y = 1/2X. For example, if the measurement from the base of the door to the bottom of the overhang is 10 feet, then the overhang should extend at least 5 feet. In most climates, an overhang as shown in the illustration is required for wood doors, and suggested for all exterior doors. Keep in mind that overhangs are always wise, even for steel and fibreglass doors.
Also consider the variables specific to your region.
The climate and the direction a door faces play a key role in determining a proper overhang. Typically, southern and western exposures are harshest. With southern exposures, the sun beats down on the door from sunrise to sunset. In western exposures, the door receives sunlight in the hottest part of the day.
Please consult the following chart and adjust the length of the overhang as needed.
|
Direction the door faces |
|||||
|
Climate |
North |
South |
East |
West |
|
|
Desert |
Y = ½X |
Y = 2X |
Y = ½X |
Y = 2X |
|
|
Ocean |
Y = ½X |
Y = X |
Y = ½X |
Y = X |
|
|
Wet |
Y = X |
Y = X |
Y = X |
Y = X |
Y = X |
|
Mild |
Y = ½X |
Y = X |
Y = X |
Y = ½X |
Y = X |
Without correct overhangs, doors with a southern, southwestern, southeastern, or western exposure will require more frequent maintenance. Doors without appropriate protection may also experience performance problems such as rapid finish deterioration, color fading, wood splitting, warping, molding shrinkage, wood joint separation, and water penetration between the moldings, panels, and glass.
With proper overhangs, doors may face any direction (north, south, east, or west). Doors installed in these types of applications still require finish maintenance. Wood doors, for instance, may need to be refinished every two to five years.
Colour Choice
No matter what type of exterior door is selected, color choice may affect how quickly the exterior of the door weathers in extreme climates. In general, darker colors absorb more heat than lighter colors. The exterior face of a door exposed to the sun in harsh environments can reach temperatures well in excess of 120 degrees. As a rule of thumb, if you cannot hold your hand on the face of the door for more than 30 seconds, the door is too hot. These extreme temperatures can cause noticeable damage to the door, including finish deterioration and accelerated color fading.
In addition, extreme temperature changes can cause warping, sticking, and other performance problems. For doors with little protection or doors installed in hot environments, light colors may help reflect the heat and slow down heat build-up. Depending on the exposure and environment, other precautions (such as overhangs) should be taken to protect the door from the effects of the sun.
Storm Doors
Storm doors provide additional protection for exterior doors in many climates. They shelter the door mainly from rain and wind, though a storm door with dual pane Low-E glass will also block UV rays. In hot climates, adding a storm door may not be a good choice. Heat builds up between the two doors and can cause substantial damage like warping, color fading, and wood joint separation on the door. A storm door in front of a dark-colored exterior door can accelerate heat build up even more.
JELD-WEN Warranties
This document provides general information about measures that can be taken to better protect exterior doors, but no warranties, whether express or implied, are provided by this document. For specific product information and available product warranties please refer to our Warranty page or contact your Local After Sales Service team.
The information contained above is provided solely for informational and/or educational purposes. JELD-WEN disclaims any and all liability associated with the use and/or provision of this information. Any reliance upon the information or advice is at the risk of the party so relying. The information contained above may be changed from time to time without notification.


